–
How to Take Better Pictures
Part 5: White Balance
by: Ben Powell
–
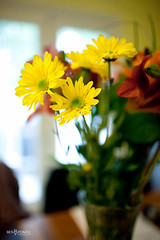
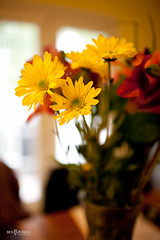
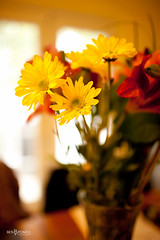
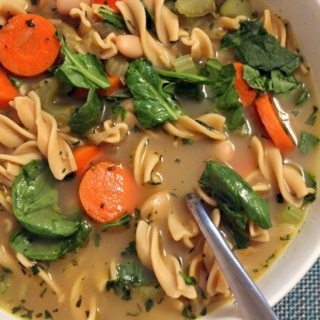
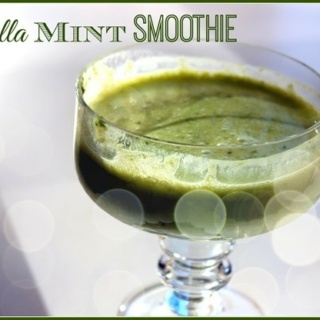
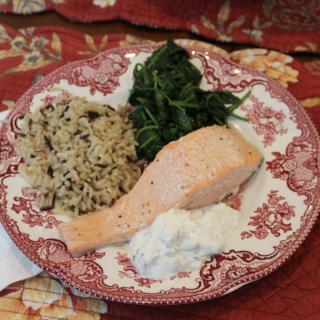
Did you know that these three pictures are taken with the exact same settings? Shutter speed, aperture, and ISO are all the same! But anyone can plainly see that the colors in the photos look extremely different. This is because of what we call “White Balance.”
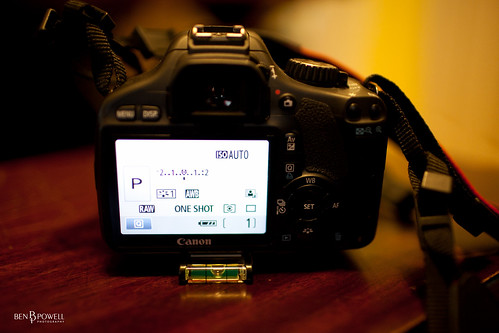
AWB means Auto White Balance
The way I like to think about white balance in photos is basically making sure that white looks white. What I mean by that is that different ambient light sources (aka, the sun, the fluorescent bulb in your office, or the halogen light at home) cast off a different color of light. Some light makes white look a little more yellow (most indoor lighting) and some light makes white look more blue (the sun).
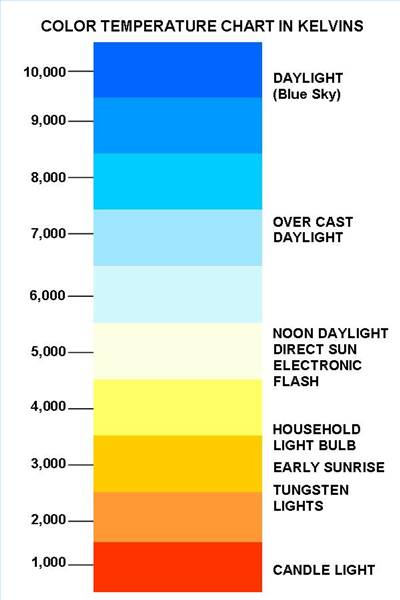
If you look at the three examples at the beginning of the post (click through to see large images), you’ll notice the light coming in from the window has a different hue in each one. In the first example, the flowers are properly white balanced for the overhead light, but it makes the white-light from outside look BLUE. In the middle image, the light outside looks pretty normal white, but now the flowers are too yellow. The final image is so far on the yellow spectrum that even the outside light looks yellow.
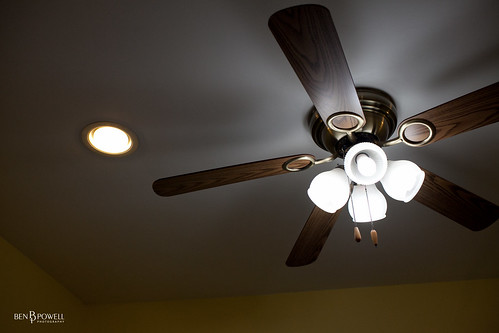
Mixing light colors in the same room is generally a no-no!
Left = Tungsten Bulb (yellow) | Right = Compact Fluorescent Bulb (blue)
Our eyes naturally adjust to the changes in color temperature when we go from environment to environment, but our cameras lack that human ability, so we have to TELL them to compensate. On this Canon Digital Elph point and shoot you can manually select white balance settings based on the kind of lighting there is. You’ll find similar settings on a Canon Rebel t2i and other digital SLRs. Just push the “WB” button and your options will come up.
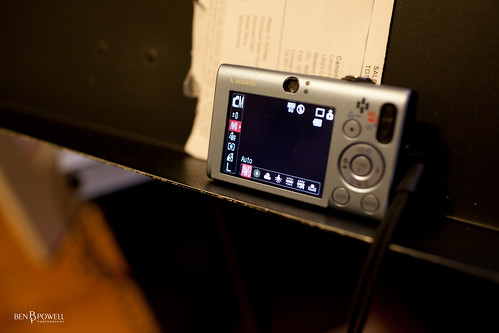
Auto | Daylight | Cloudy | Tungsten | Fluorescent | Fluorescent H | Evaluative
On higher end cameras, you can actually specify the exact color temperature you want it to balance at. However for the rest of us, when all else fails you can also set it to “evaluative.”
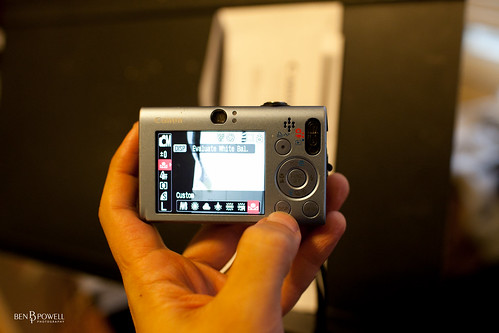
Evaluative White Balance Setting
Every camera is different, but on this point and shoot, you can push the “disp” button, and the camera will set white balance based on whatever you’re pointing the camera at (ideally something white). This having been said, for most of the time Auto White Balance (AWB) should do the trick. However, if you want to be extra sure and safe, or if the photos aren’t coming out the way you want, set your white balance yourself! Keep in mind that color tones and white balance can set moods for pictures. But in general, food looks best when its colors are properly represented through good white balance! If you have a great shot and the color is just a little off, never fear. Next time we’ll talk about some basic photo editing techniques to correct these little things!
Questions? Comments? Leave them below! And please leave some links to pictures you’re taking, and whether or not you want any critique!
–
Ben is a freelance photographer and musician in the DC Metro area.
Learn more about him here: http://www.about.me/benpowell
Check out his photography business here: http://photography.benpowellmedia.com
And follow his project365 here: http://www.starvingartistry.net
—
Thanks, Ben! And while we’re talking about my friend Ben — I wanted to share this crazy cool cover he just made of Ke$ha’s song “Blow.” Yes, he’s awesome at photography, making videos, AND all things music. It’s kind of ridiculous. For your viewing pleasure:
He has all sorts of cool videos up on his YouTube channel — both original and covers. My all time favorite video of his, though, has to be this cover of Katy Perry’s “Teenage Dream” using only the iPad as his instrument. It’s insane. And the meowing is hilarious. I can’t sing that song now without meowing. You have to watch it to figure out what I’m talking about. 😉


